1. Introduction to Elderberry Jam
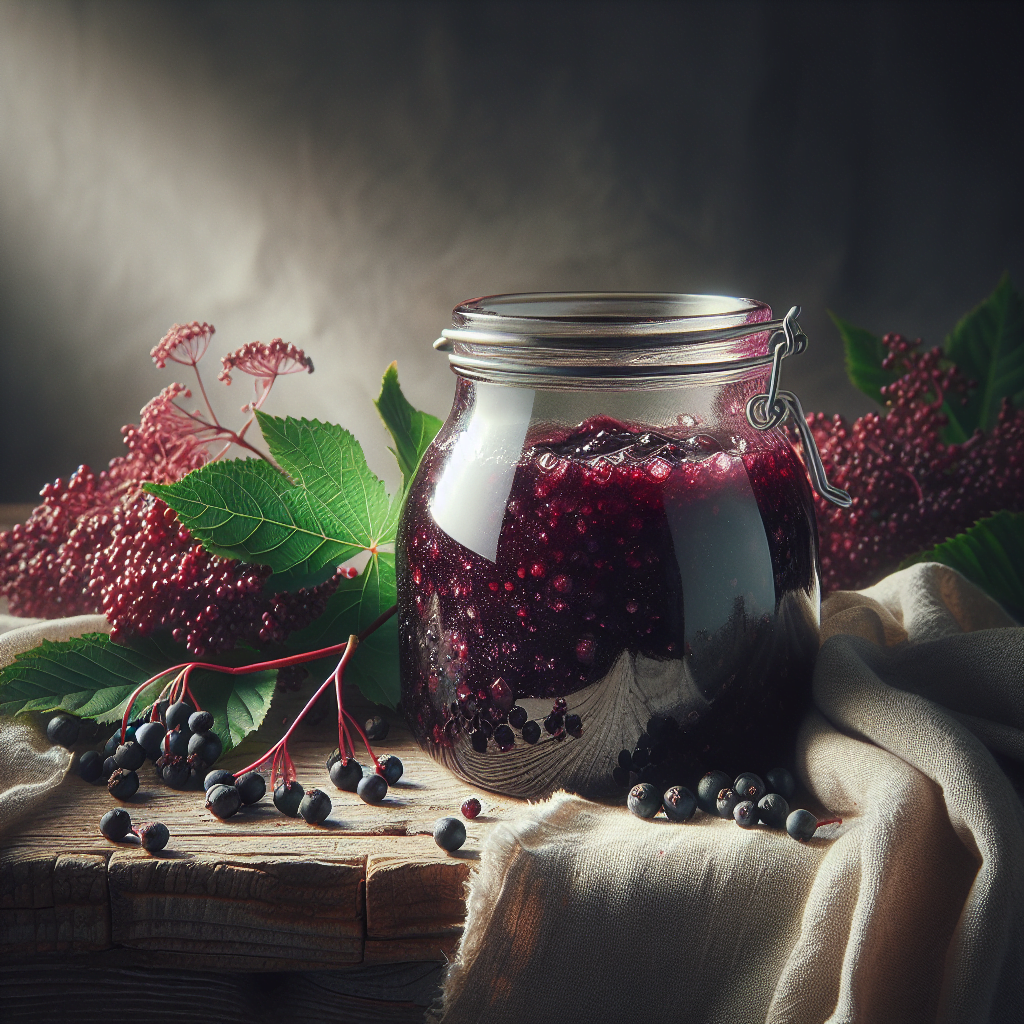
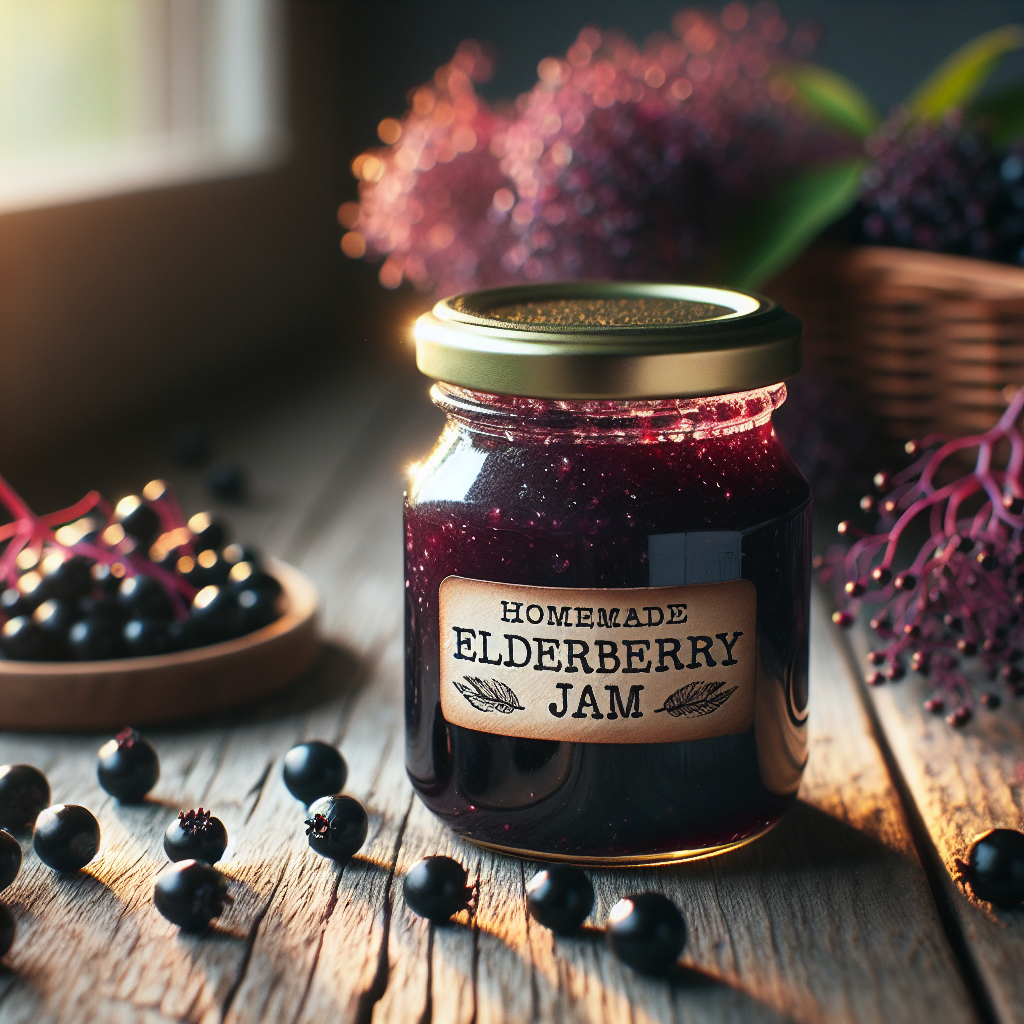
Elderberry jam is a delightful spread that combines the rich, tart flavor of elderberries with sweetness to create a versatile preserve. Elderberries have been cherished for centuries, not only for their culinary uses but also for their medicinal properties. Today, elderberry jam is enjoyed in many households, particularly by those who appreciate homemade preserves that offer both taste and health benefits.
2. Health Benefits of Elderberries
Elderberries are packed with nutrients and antioxidants. They are known for their immune-boosting properties, making elderberry jam a popular choice, especially during cold and flu season. These small, dark berries are rich in vitamins A, B6, and C, as well as iron and potassium. Regular consumption of elderberries is believed to help reduce the severity of cold and flu symptoms, thanks to their antiviral properties.
3. Ingredients Needed for Elderberry Jam
For a basic elderberry jam recipe, you’ll need the following ingredients:
- Fresh or frozen elderberries: 4 cups
- Granulated sugar: 3 cups (adjust to taste)
- Lemon juice: 2 tablespoons
- Pectin: 1 package (for better consistency)
Optional ingredients include spices like cinnamon or cloves and other fruits like apples or blueberries to enhance the flavor.
4. Equipment and Tools
To make elderberry jam, you’ll need:
- A large pot
- A wooden spoon
- Sterilized glass jars and lids
- A ladle
- A canning rack or a large towel for jar processing
Proper sterilization of jars is crucial to prevent bacterial contamination, which can spoil your jam.
5. Preparing Elderberries for Jam
Begin by thoroughly washing your elderberries. Remove the berries from their stems, as the stems and leaves contain toxic compounds. If using frozen berries, allow them to thaw before starting the jam-making process. This step ensures that the berries are clean and safe to eat, and it also helps to prevent bitterness in your jam.
6. Step-by-Step Elderberry Jam Recipe
1. Prepare the Elderberries:
- Place the cleaned elderberries in a large pot.
- Add lemon juice and bring the mixture to a boil.
2. Cook the Jam:
- Add sugar and pectin to the boiling berries.
- Stir continuously to dissolve the sugar and pectin.
- Reduce the heat and let the mixture simmer for about 15 minutes, or until it thickens.
3. Test the Jam:
- To check if the jam is ready, place a small amount on a cold plate. If it gels and doesn’t run, it’s done.
4. Preserve the Jam:
- Carefully ladle the hot jam into sterilized jars, leaving a little space at the top.
- Seal the jars with lids and process them in a boiling water bath for 10 minutes to ensure a proper seal.
This basic recipe can be adjusted by adding more or less sugar, incorporating spices, or mixing in other fruits to create unique flavor combinations.

7. Preserving and Storing Elderberry Jam
After sealing your jars, store them in a cool, dark place. Properly sealed, elderberry jam can last up to a year. Once opened, it should be refrigerated and used within a few weeks. If you prefer, you can also freeze the jam in small containers.
8. Serving Suggestions and Pairings
Elderberry jam pairs beautifully with a variety of foods. Spread it on toast, add it to yogurt, or use it as a glaze for meats like pork or chicken. For baking, elderberry jam can be a delicious filling for cakes, pastries, and cookies.
9. Flavor Variations and Add-Ins
For those looking to experiment, try adding a pinch of cinnamon or nutmeg to your elderberry jam. You can also mix in other fruits such as apples or blueberries for a more complex flavor profile. For a gourmet twist, consider adding a splash of wine or brandy to your jam.
10. Vegan and Sugar-Free Variations
If you prefer a vegan or sugar-free version, substitute regular sugar with a plant-based sweetener like maple syrup or agave nectar. You can also use pectin derived from apples or citrus for a vegan-friendly option.
11. Elderberry Jam for Gifting
Homemade elderberry jam makes a thoughtful gift. Decorate your jars with custom labels, ribbons, and fabric covers. Be sure to include a note on the storage and shelf life to ensure the recipient enjoys the jam at its best.
12. Elderberry Jam FAQs
- Can You Make Jam with Dried Elderberries?
Yes, rehydrate dried elderberries by soaking them in water before using them in your recipe. - How Long Does Elderberry Jam Last?
Sealed jars can last up to a year. Opened jars should be refrigerated and used within a few weeks. - What if My Jam Doesn’t Set Properly?
You can recook the jam with a bit more pectin or let it simmer longer to thicken. - Is It Safe to Eat Elderberry Jam Daily?
Yes, in moderation. However, ensure the berries are properly cooked to avoid toxicity. - How Can I Make My Jam Less Sweet?
Reduce the amount of sugar or add a bit more lemon juice to balance the sweetness. - Can I Make Elderberry Jam Without Pectin?
Yes, but the jam may be runnier. You can cook it longer to help it thicken naturally.
13. Nutritional Information
Elderberry jam is relatively low in calories, with about 50 calories per tablespoon, depending on the amount of sugar used. It also provides a small amount of vitamins A and C, as well as antioxidants.
14. Safety Precautions
It’s important to cook elderberries thoroughly, as raw berries, stems, and leaves contain cyanogenic glycosides, which can release cyanide. Always discard stems and leaves, and never consume elderberries raw.
15. Conclusion
Making elderberry jam at home is a rewarding process that allows you to enjoy the full flavor and health benefits of this remarkable fruit. With a bit of patience and care, you can create a delicious jam that will be a staple in your pantry and a favorite among your friends and family.
Homemade Elderberry Jam: A Delicious and Antioxidant-Rich Spread
Description
Capture the rich, tangy flavor of elderberries with this delicious and antioxidant-packed Elderberry Jam. Perfect for spreading on toast, adding to desserts, or gifting to friends and family, this homemade jam is a delightful way to enjoy the benefits of elderberries all year round.
Ingredients
Instructions
- Prepare the Elderberries: Rinse the elderberries thoroughly and remove any stems. Place the elderberries in a large pot with the water.
- Cook the Berries: Bring the mixture to a boil, then reduce the heat and simmer for about 10 minutes, stirring occasionally, until the elderberries are soft and releasing their juices.
- Add Lemon Juice and Pectin: Stir in the lemon juice and pectin, making sure the pectin is fully dissolved.
- Add Sugar: Gradually add the sugar, stirring constantly. Bring the mixture back to a full rolling boil and boil for 1-2 minutes.
- Test for Set: To check if the jam is set, place a small spoonful on a chilled plate and let it sit for a minute. If it wrinkles when pushed with your finger, it's ready.
- Jar the Jam: Pour the hot jam into sterilized jars, leaving about 1/4 inch of headspace. Seal the jars with lids and process in a boiling water bath for 10 minutes.
- Cool and Store: Allow the jars to cool completely. Store in a cool, dark place. Once opened, refrigerate and use within a few weeks.
Servings 1
- Amount Per Serving
- Calories 50kcal
- % Daily Value *
- Total Carbohydrate 13g5%
- Dietary Fiber 0.5g2%
- Sugars 12g
* Percent Daily Values are based on a 2,000 calorie diet. Your daily value may be higher or lower depending on your calorie needs.


